Showing posts with label Sewing. Show all posts

Wednesday, July 13, 2011

Homemade Roman Shades are Finished

So remember this post Roman Shades
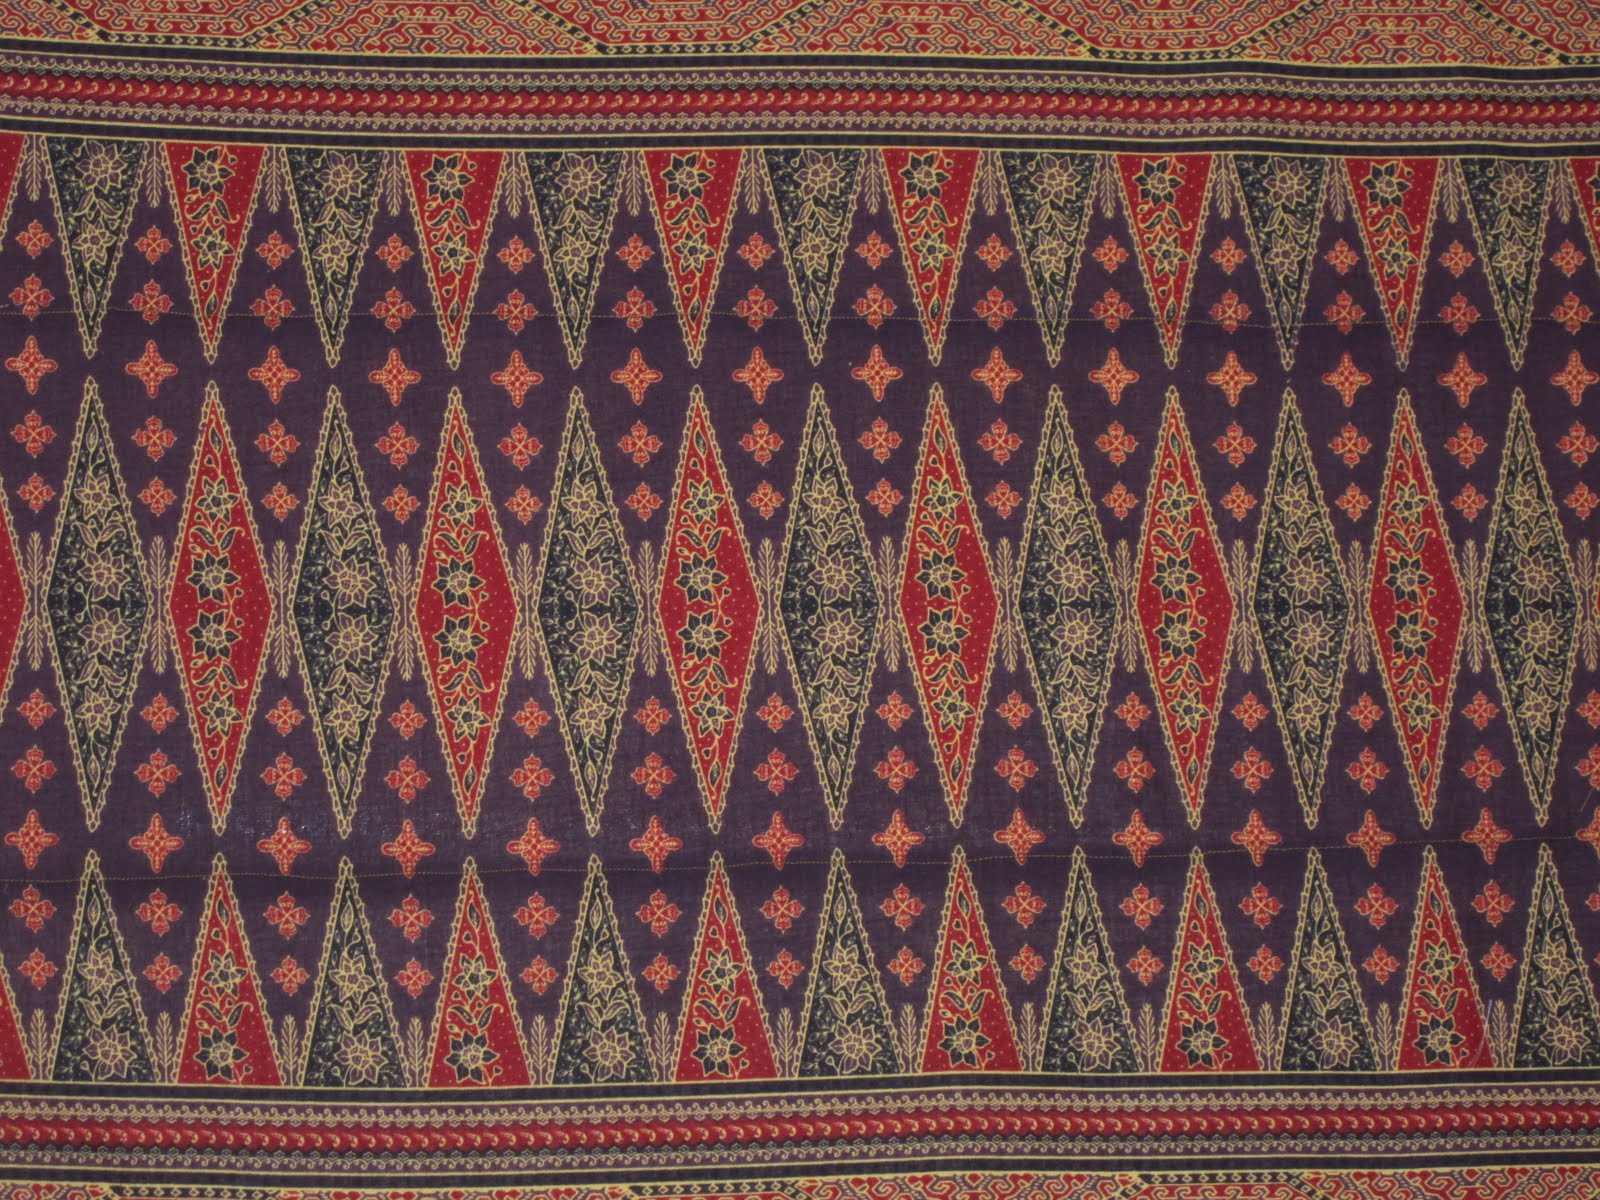
Yeah.... that was October 16, 2010.  Well I can honestly say as of July 9, 2011 the Roman Shades are complete, but that's what happens when you're in your final year of graduate school.  A friend of mine brought my material that she picked up in Malaysia.  I fell in love with the material and decided they would make the perfect curtains.  Wanting a type of curtain that could fully display the pattern, I decided on Roman Shades.  However I didn't want shades that were tucked inside the window like traditional roman shades.  My apartment already has mini-blinds, and I don't want to take them out and store them especially when I already own a curtain rod.

I asked my Mom for help, but she told me I could figure it out on my own.  Turns out I COULD.  This website gave the best tutorial and directions.  I slightly improvised for my curtain rod needs, but I think they turned out beautifully.

Here are a couple pictures of  the finished product.


Saturday, October 16, 2010

Roman Shades

Homemade Roman Shades are coming up shortly.  I bought the supplies today!

Sunday, December 27, 2009

Crocheted Slippers

Well remember when I posted the entry on homemade slippers.  Well my mother made everyone a pair for Christmas.  It was fantastic.  They are comfortable.  I can wear them with and without socks, and I don't feel like I have to take them off when I put my feet on the couch.  Here's a picture with all of our beautiful slippers. 

Saturday, December 19, 2009

Apron

1. The first step is to find material. Approximately two yards are needed. 
2. First cut all of the material to the appropriate width-recommended with leaving room for seems is 28" across.  The length should just be for the desired distance.  I used three prints and four layers. 

3.  After the strips are sewn together, it is time to attach the backing.  Cut the backing to the size and scale of the front.  The front of the prints should be facing each other. 

4.  Make sure that the backing is attached on all sides except for the very top.  It is like sewing a pillow.  Only sew up to the bottom of the armpit curve also known as the top of the point at which you would attach the ties.  The yellow polka-dot material signified to me when to stop sewing on the backing. 
 
5.  After sewing three of the four sides, it is time to trace or draw the arm curves.  Sew along the line and then cut about 1/2 an inch past the seem.

6. The ties are made at 25" long and 2.5" long before sewing.  These are made the same way one would make a pillow.  Sew three sides then pull the ties inside out/inside right.  Hem the last side and attach to the sides of the apron. 
7.  The ruffles or pleats for the bottom were suprisingly very easy.  The key is a lot of straight pins and careful measuring.  The topside flap is 1" and the bottom side flap is 2.5". 
8.  Sew the pleats with a seem 1.4" from the top.  Then attach the pleats/ruffles to the bottom of the apron. 
9. the top tie or neck tie is self explanatory/ I don't feel like explaining it. 
10. Finished product.

Wednesday, October 28, 2009

Crocheted Slippers

I ran into the most marvelous idea on Little Birdie Secrets.  Due to not being blessed with the gift of crocheting mostly because I couldn't sit down with my Mom long enough for her to teach me, I can't crochet.  However, that does not mean others can't crochet for me.  So, in the off chance that anyone would like to make me crocheted slippers for Christmas, here is a free pattern in pdf that can be downloaded from this site.

Sunday, August 16, 2009

Curtains

Trying to choose what kind of tablecloths I wanted for my reception was a huge dilemma. All of my options seemed to be too much money or too tacky. The choice was muslin. I never expected to buy real material. That's only what rich people do. It ended up being on sale, and I comforted myself in the fact that I would be able to reuse the material for other projects like much needed curtains for my apartment.

The curtains turned out as well as to be expected. They were my first sewing experience. Might I add that it was also a solo project. Suzette already hemmed the sides for tablecloths, so that made the project a little less time consuming.

There are two windows, and each window took three tablecloths. The curtains are also fantastic because of their fabulous privacy.

Thursday, August 13, 2009

Duvet Cover

With more extra muslin material from my tablecloths, I made a queen size duvet cover.

I went off of the measurements from my store bought duvet cover which are 90"x98".
My duvet cover ended up being slightly different at 93" x 95", however duvet covers seem to be forgiving.
I sewed old rope into the material to tie the ends. I thought about using buttons, but this worked.